Starting photo
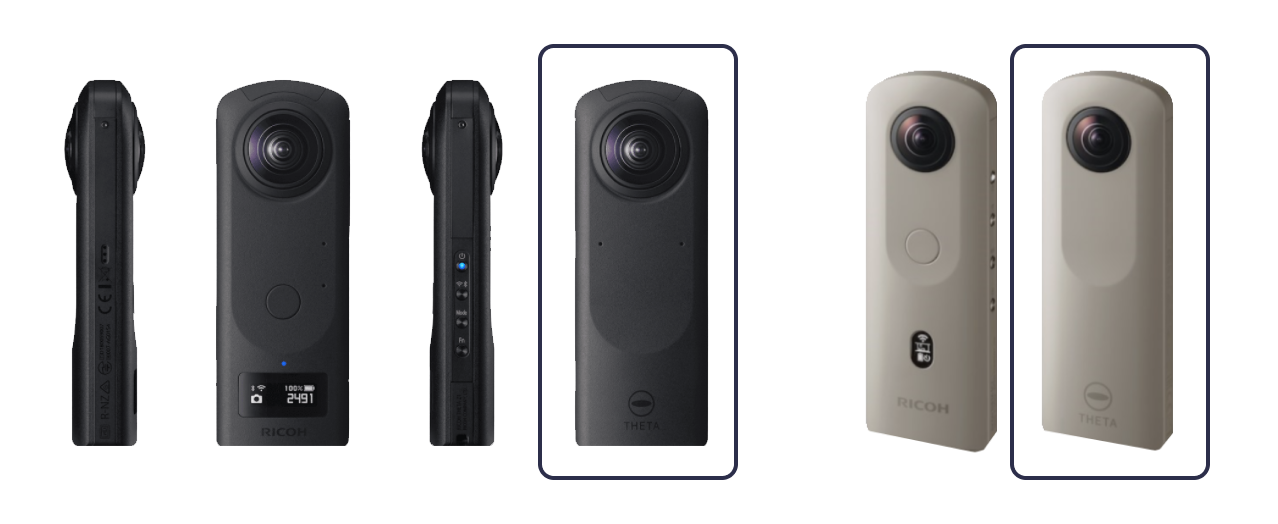
For the starting photo, always turn the back of the Theta camera (the side without the central button) towards the front door - this way, the virtual tour will start facing the door.
You’d also be able to adjust the orientation of the first picture at the end of the tour creation .
For all the other pictures the orientation will be automatically adjusted based on the links created during the process.
Tripod
Remove the pan handle from the tripod (otherwise it will appear in the pictures).
For high ceiling properties, increase the height of the tripod.
Where to take pictures
If you are inside we recommend taking your pictures from the centre of the room.
For open-space rooms we recommend taking 2 pictures.
Remember to leave the room to not appear in the picture.

Lighting
Make sure the lighting is good, if indoors, switch on the lights.
When taking the pictures outside choose a sunny spot.
Avoid losing connection with the camera
Put the camera in the middle of the room and walk away from the room keeping your phone in the direction of the camera - this will help you maintain the connection before taking the picture.
After taking the picture, move quickly to the Theta camera - this will help you to not lose the connection between the two devices and will also speed the saving process.